Xero Integration Guide
Version: 1.0
Last Updated: January 28, 2024
This guide will help you connect your Xero account to Text Reload and import your contacts and invoices into Text Reload automatically. Once connected with Xero, Text Reload will automatically sync new contacts and invoices being added to your Xero account.
Prerequisites
Before connecting to Xero, ensure you have:
- An active Xero account
- You should have permissions to read contacts and invoices in Xero.
- If you haven’t already, you should sign up with Text Reload first. Please see the Text Reload documentation on how to sign up.
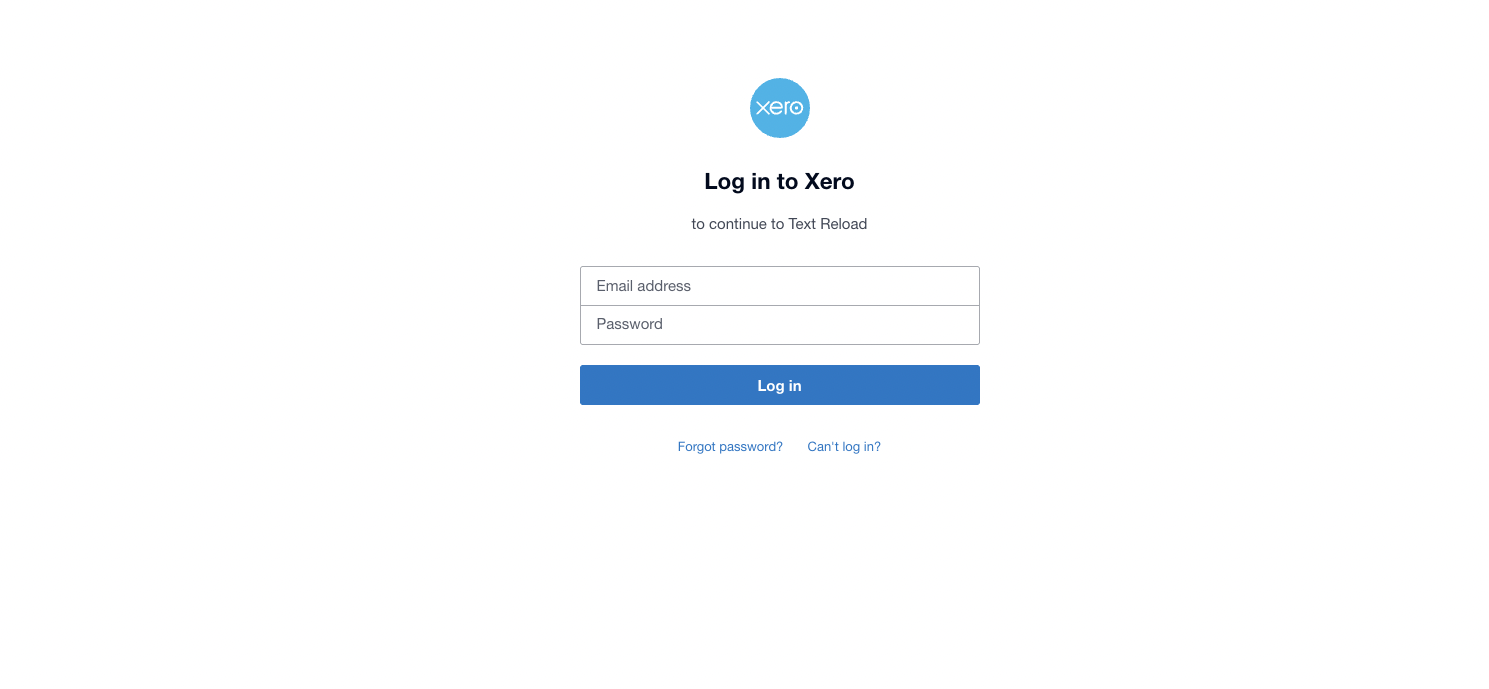
Sign in to you Text Reload account
Sign in with Xero
- If you signed up to Text Reload with the Signup with Xero option, please login using the Continue with Xero option in the login page. It will,
- You will be taken to Xero to login. Please login to Xero from there.
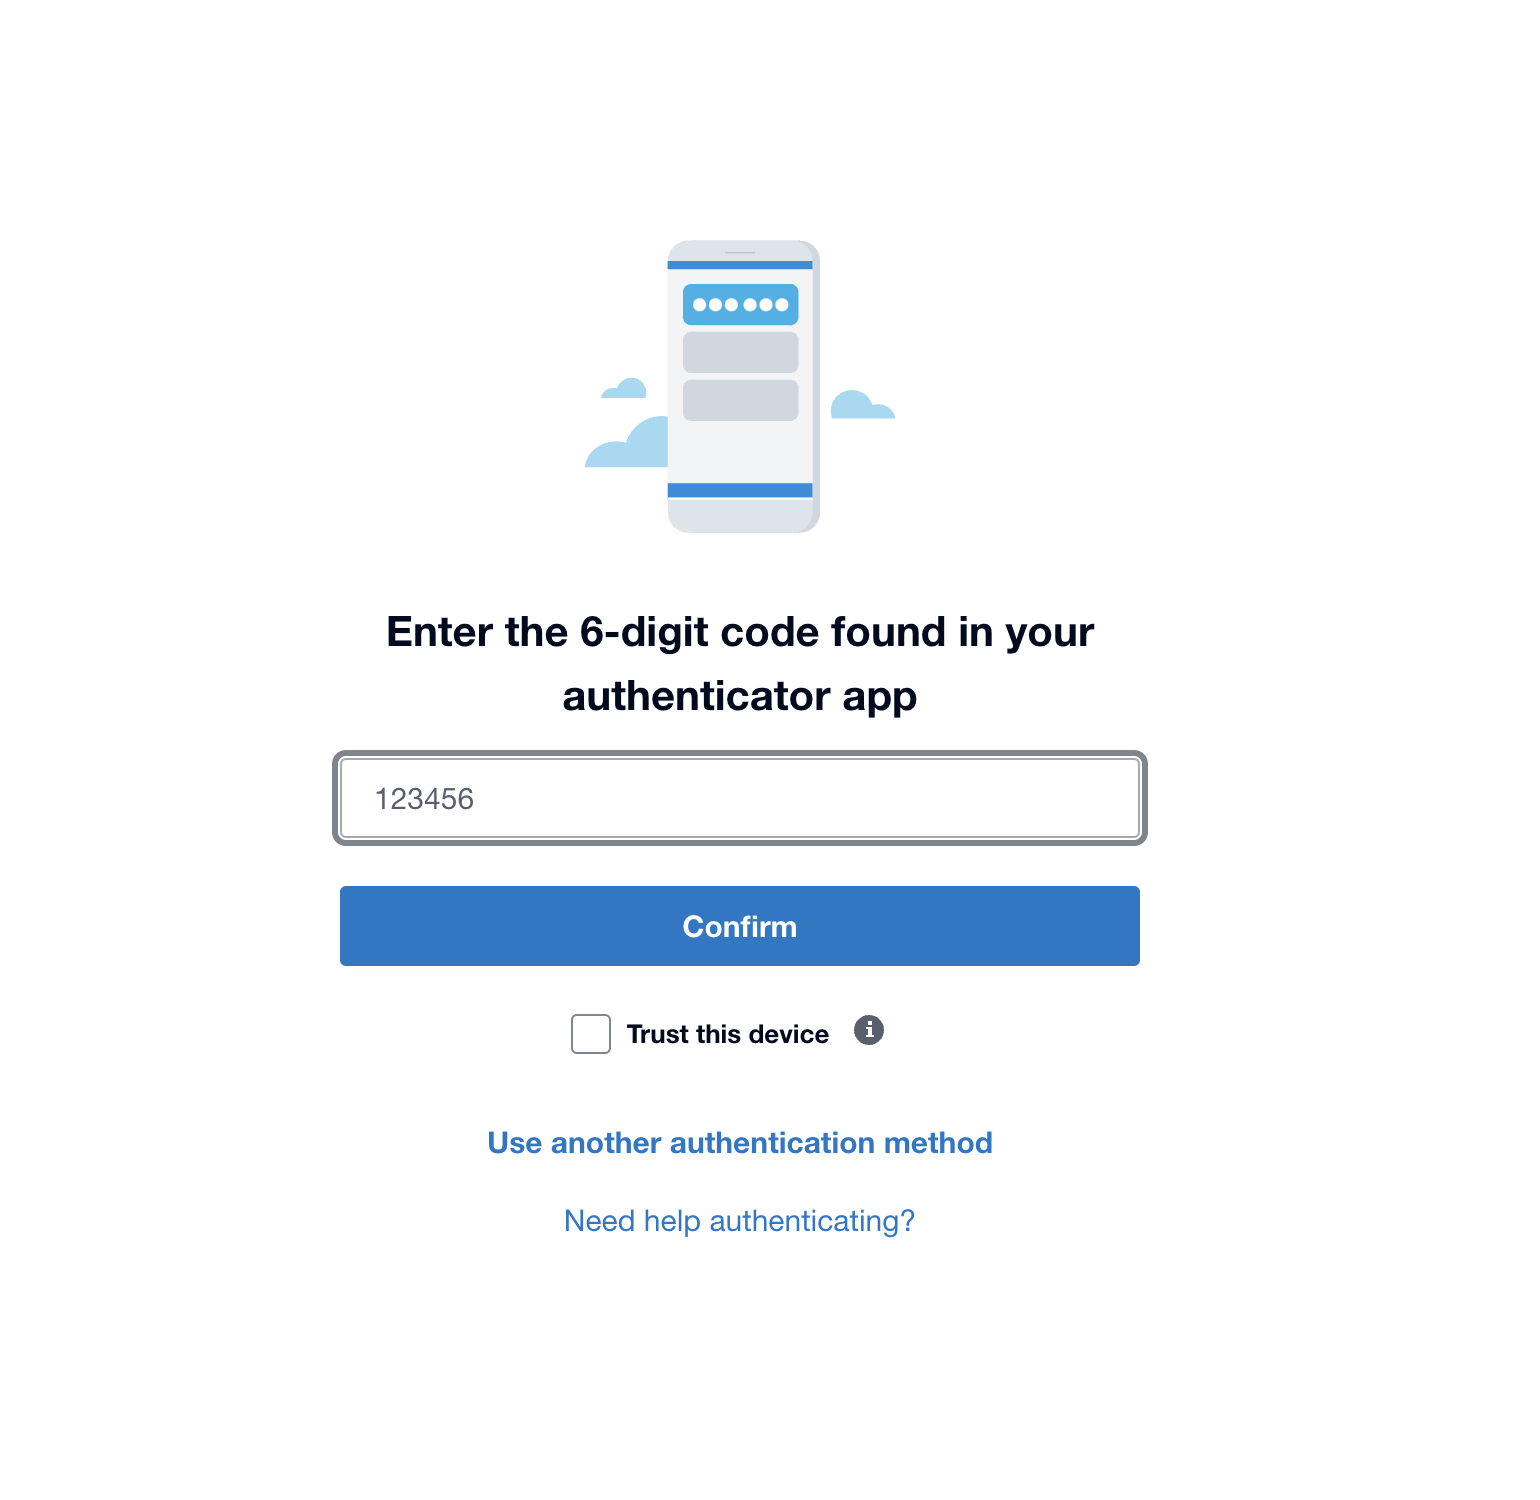
- When you login to Xero, Xero may prompt you to enter the MFA (Multi-factor Authentication) code. Please complete this step if prompted.
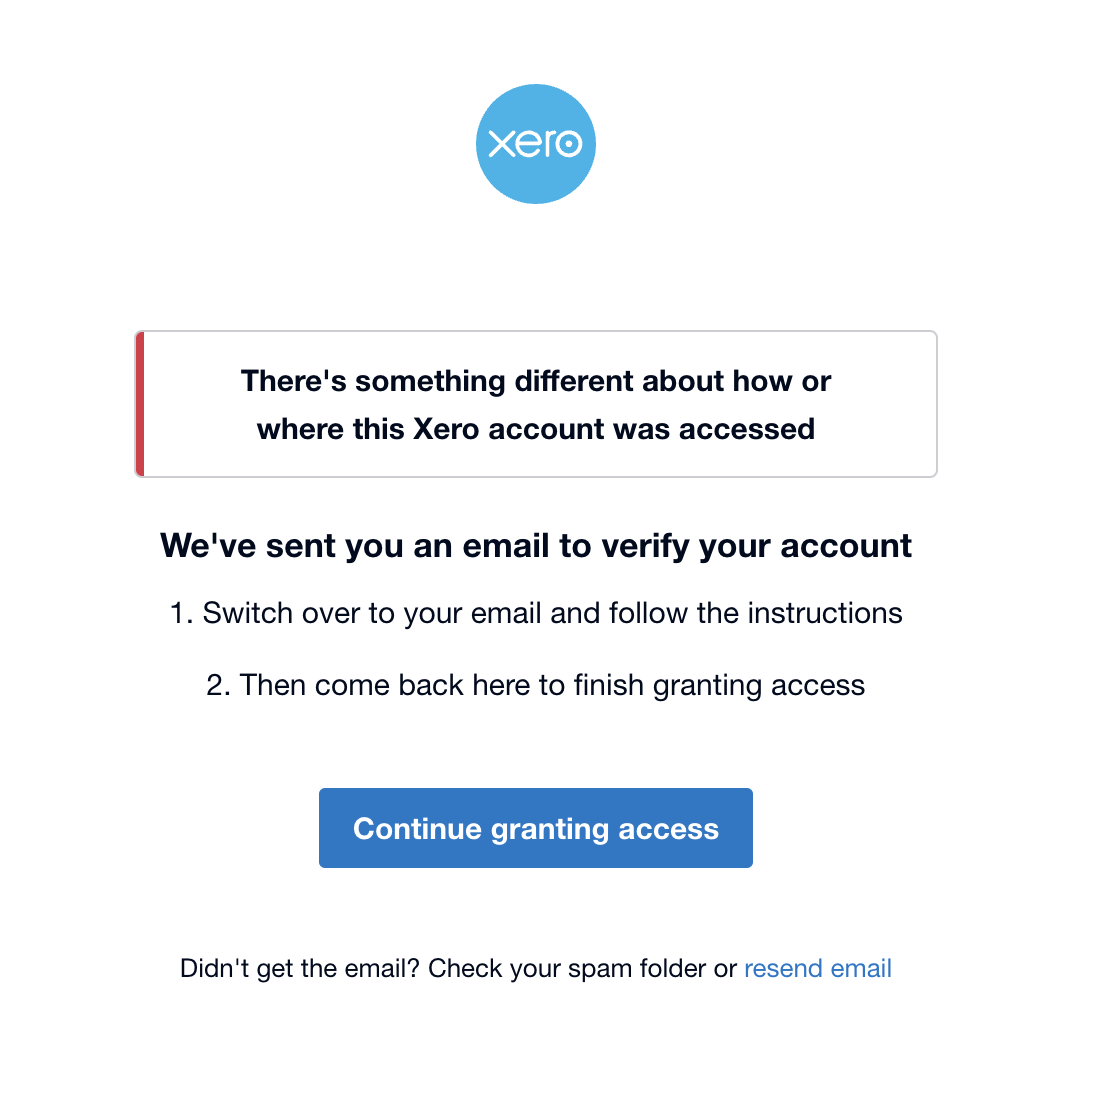
- When accessing from a new device, different country, or region, Xero may ask you to confirm your login attempt. This is an extra security measure to protect your account. Please complete that verification if prompted.
- Once you are done with the above steps, Xero will redirect you back to Text Reload, and Text Reload will sign you in automatically.
- You will be taken to Xero to login. Please login to Xero from there.
Sign in with Email
- If you signed up with an email and a password, please use your credentials to sign in.
Connect your Xero account
1. Initializing the Xero connection
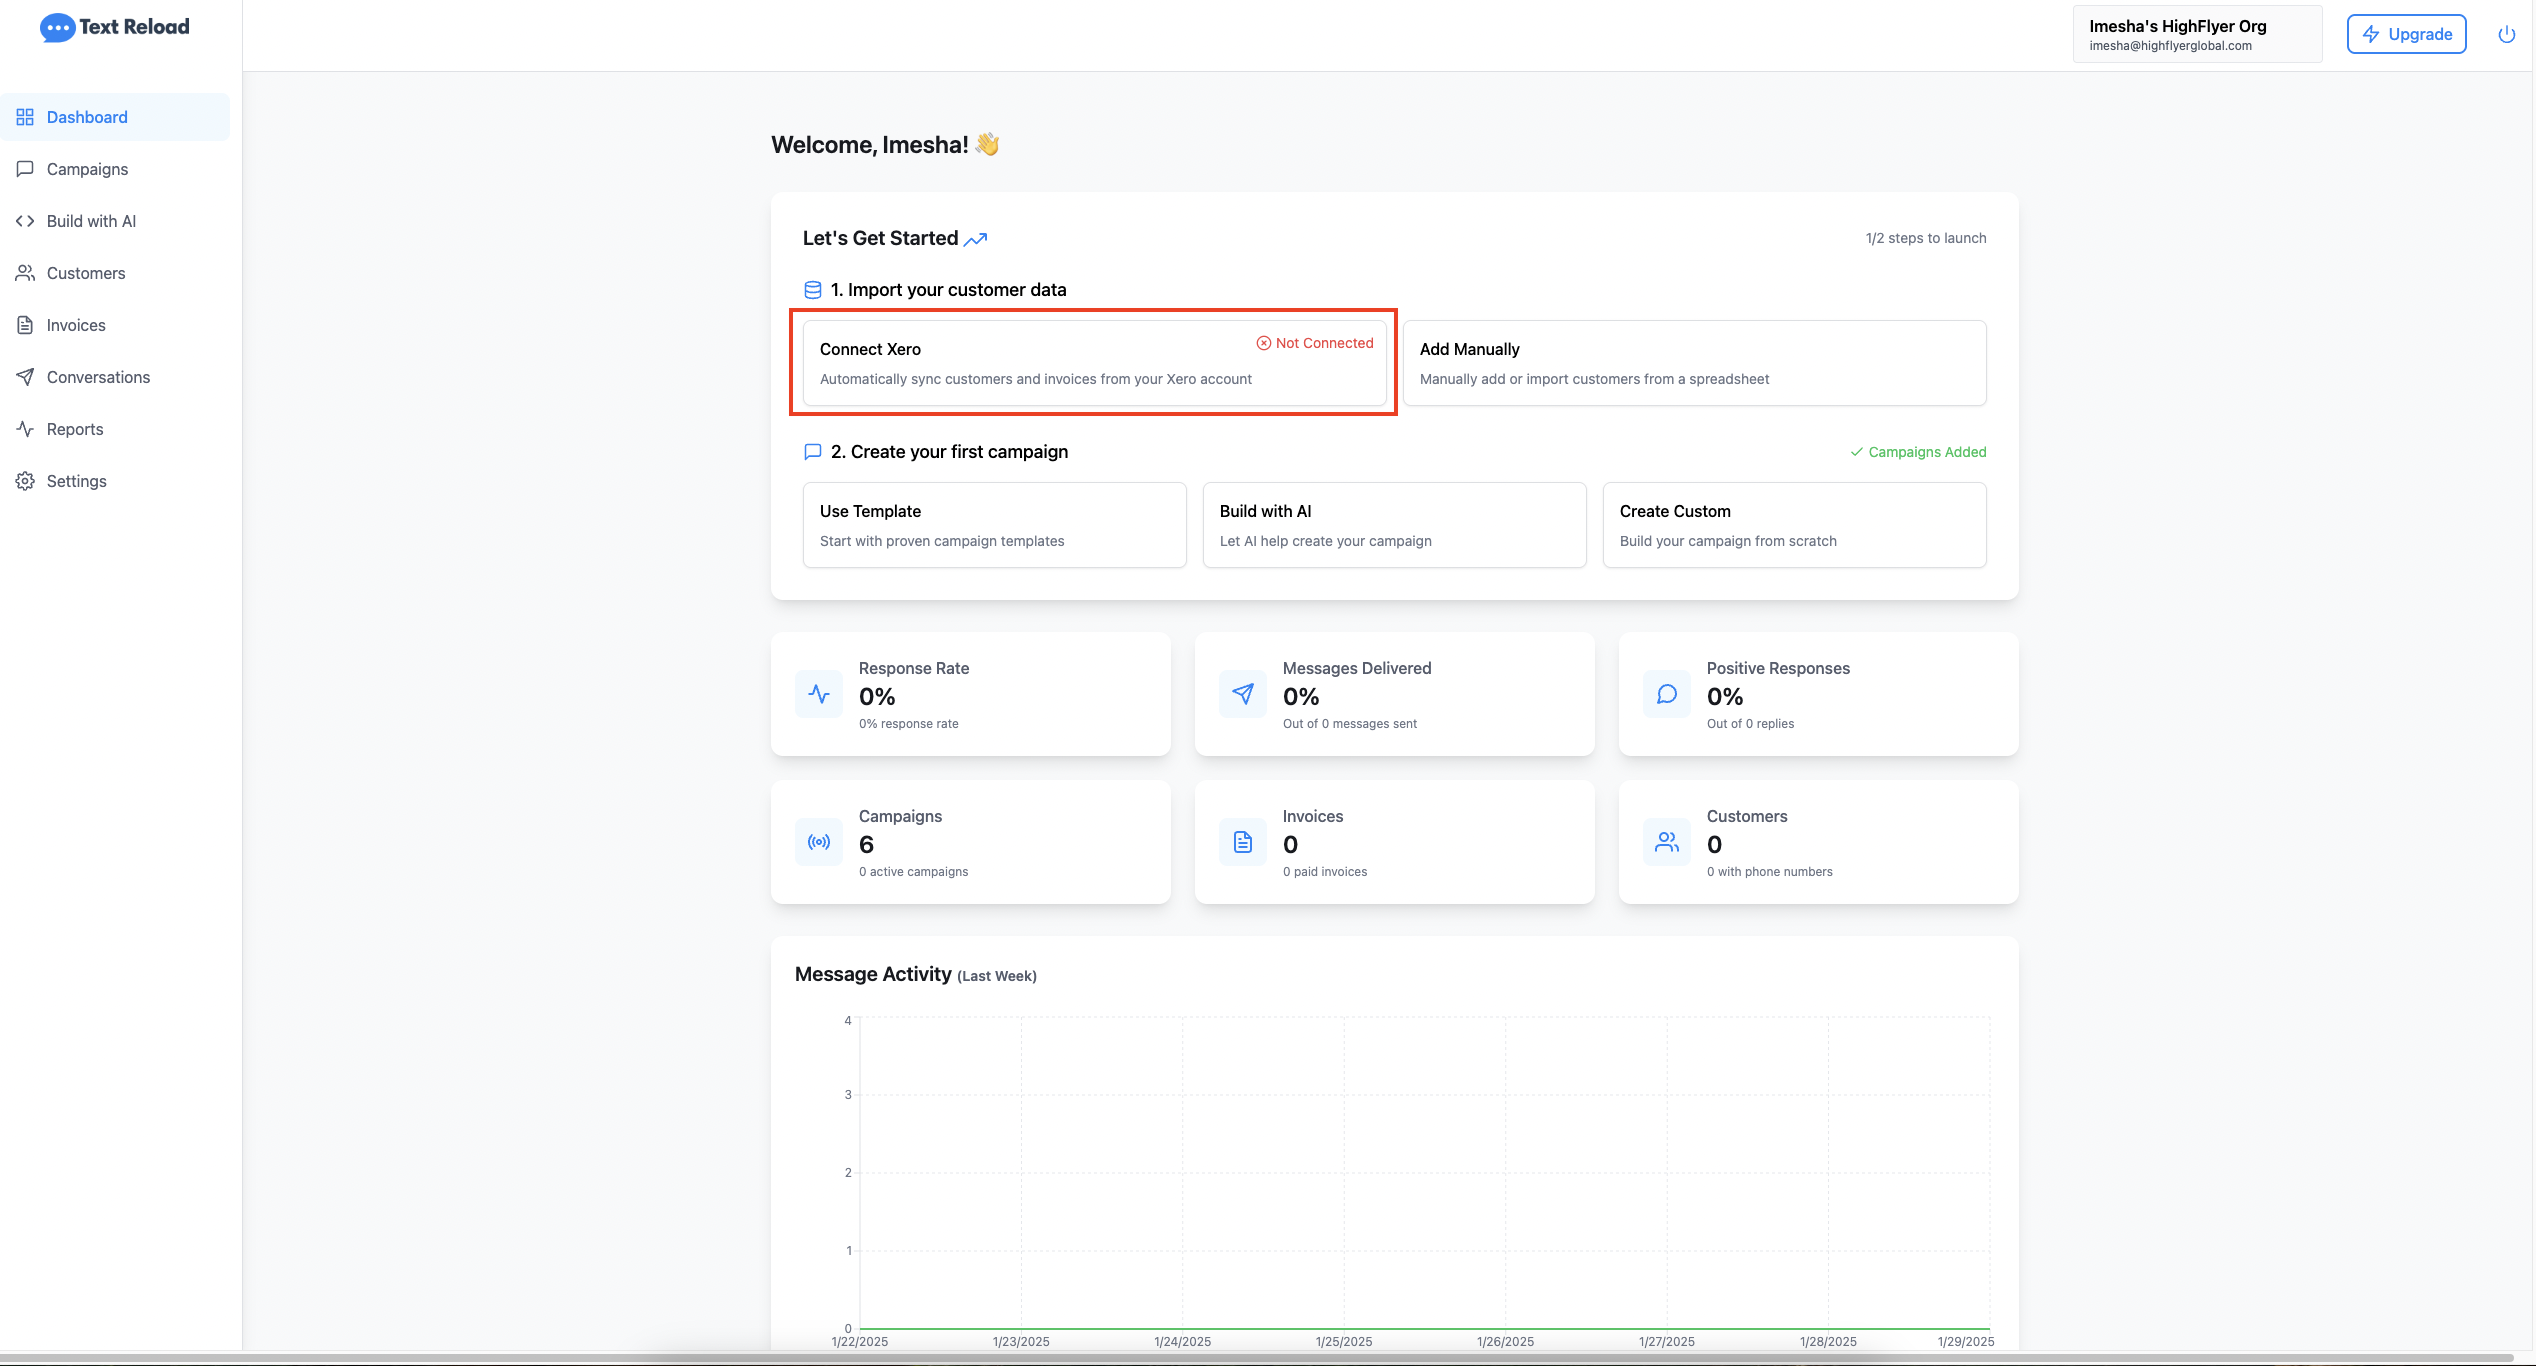
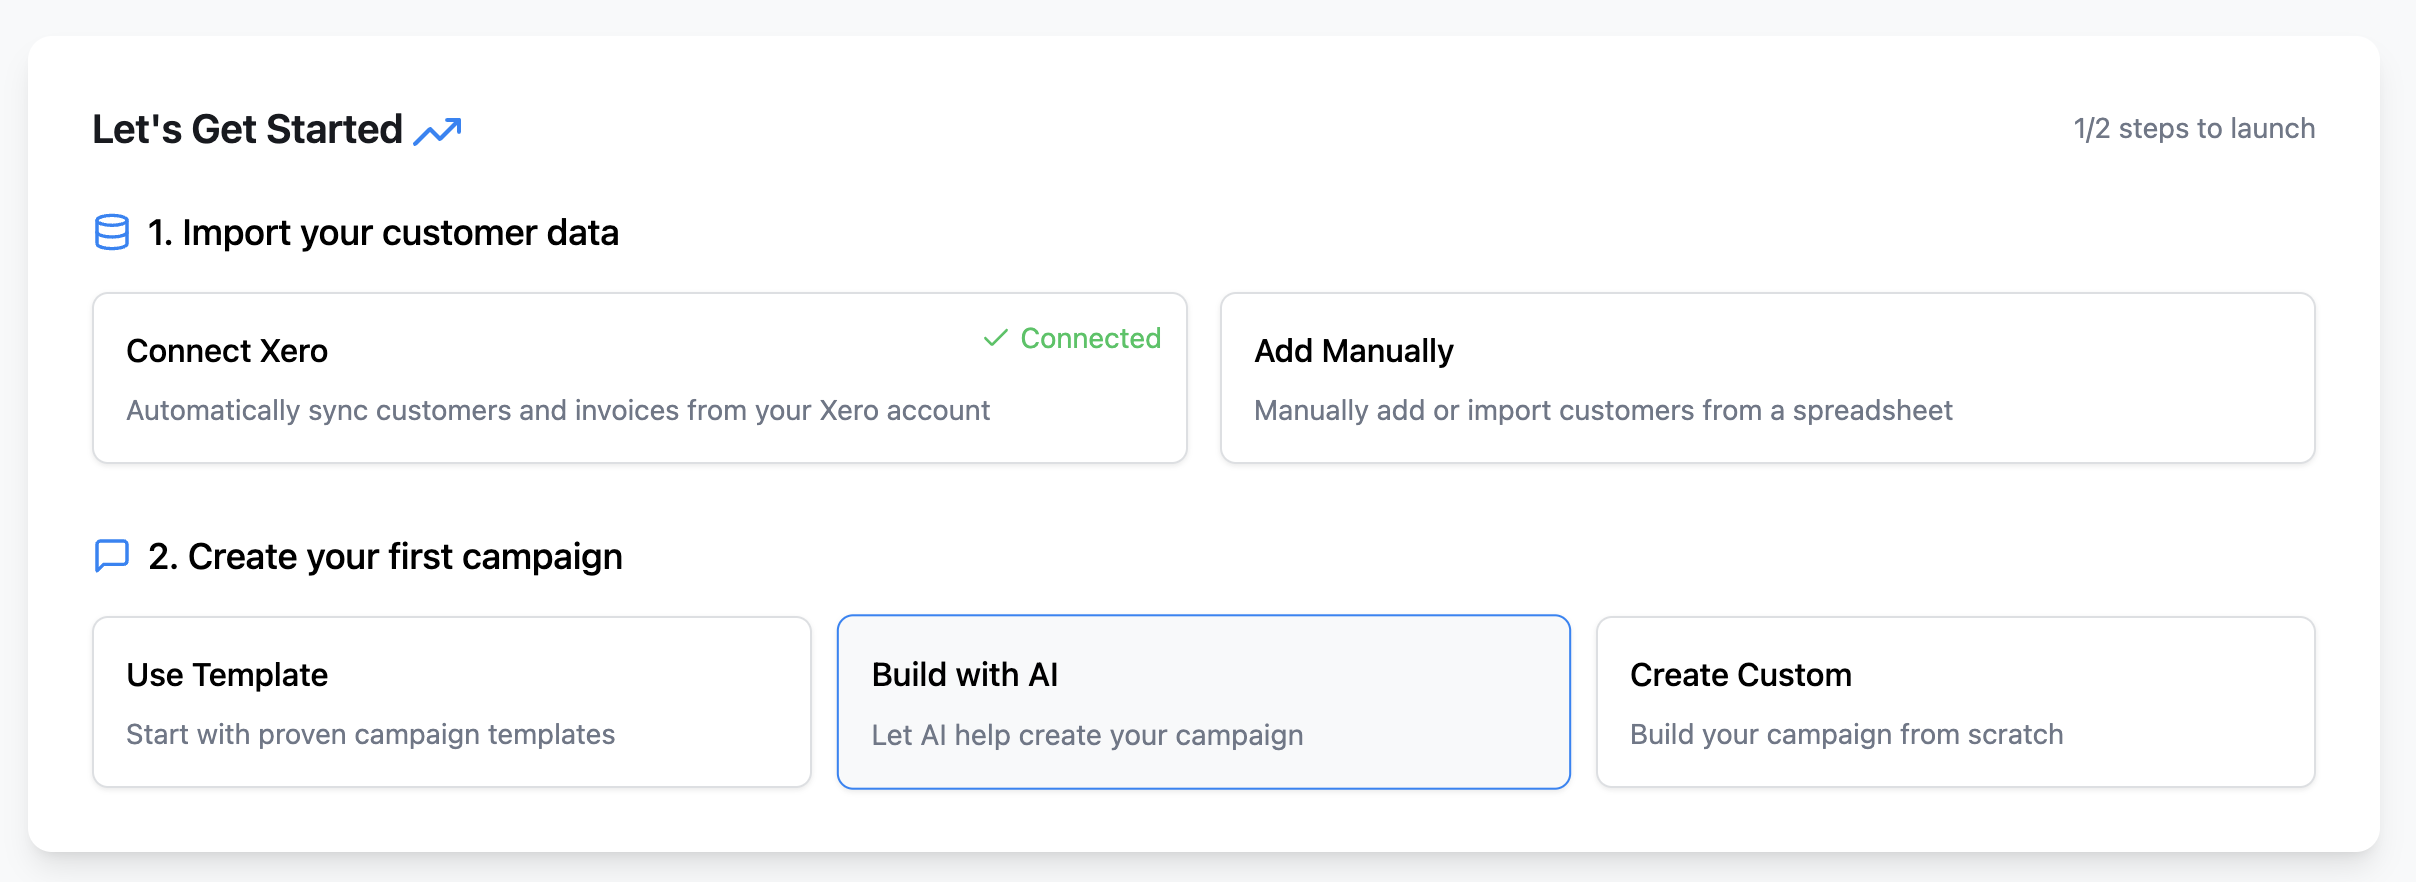
- You can connect Xero into your Text Reload account from 2 places. From the “Dashboard” page and the “Settings” page.
- The “Dashboard” page will show your “Xero Connection” status as not connected. You can click that card to initiate the Xero connection.
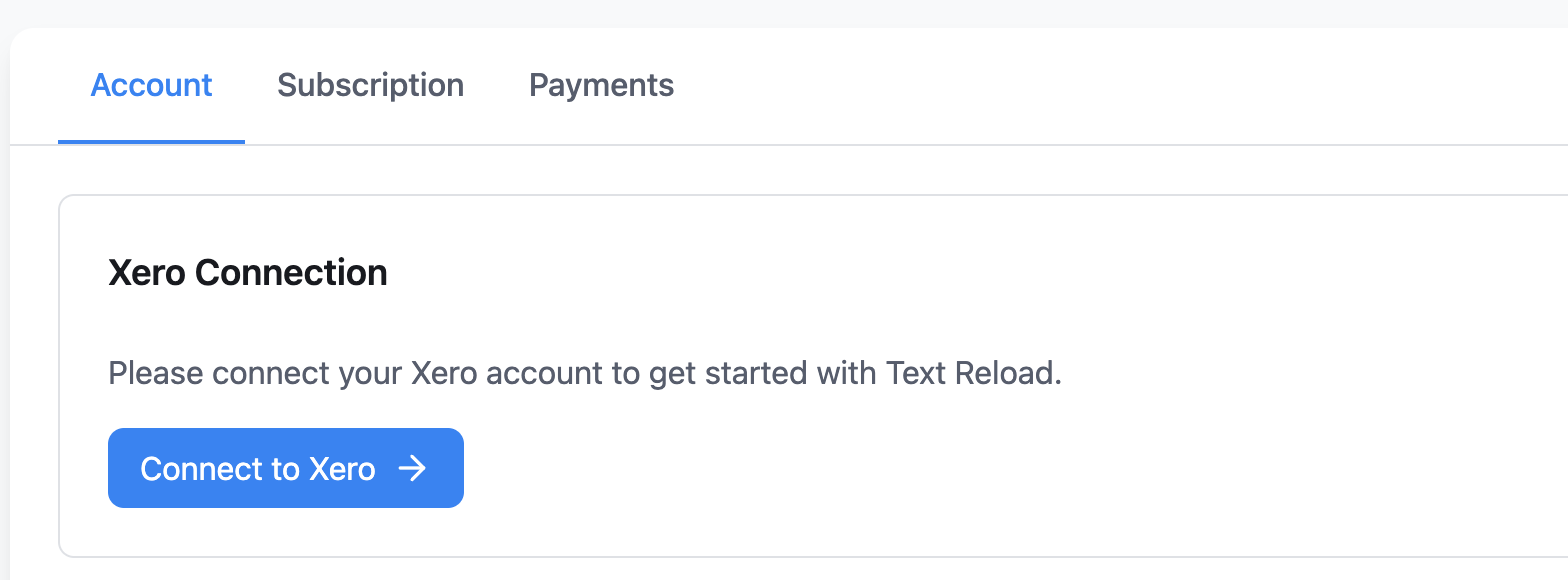
- Alternatively, you can navigate to “Settings” page and it will show your Xero connection status as well. It will show the “Connect to Xero” button if the connection isn’t active. Clicking that button will also initiate the Xero connection.
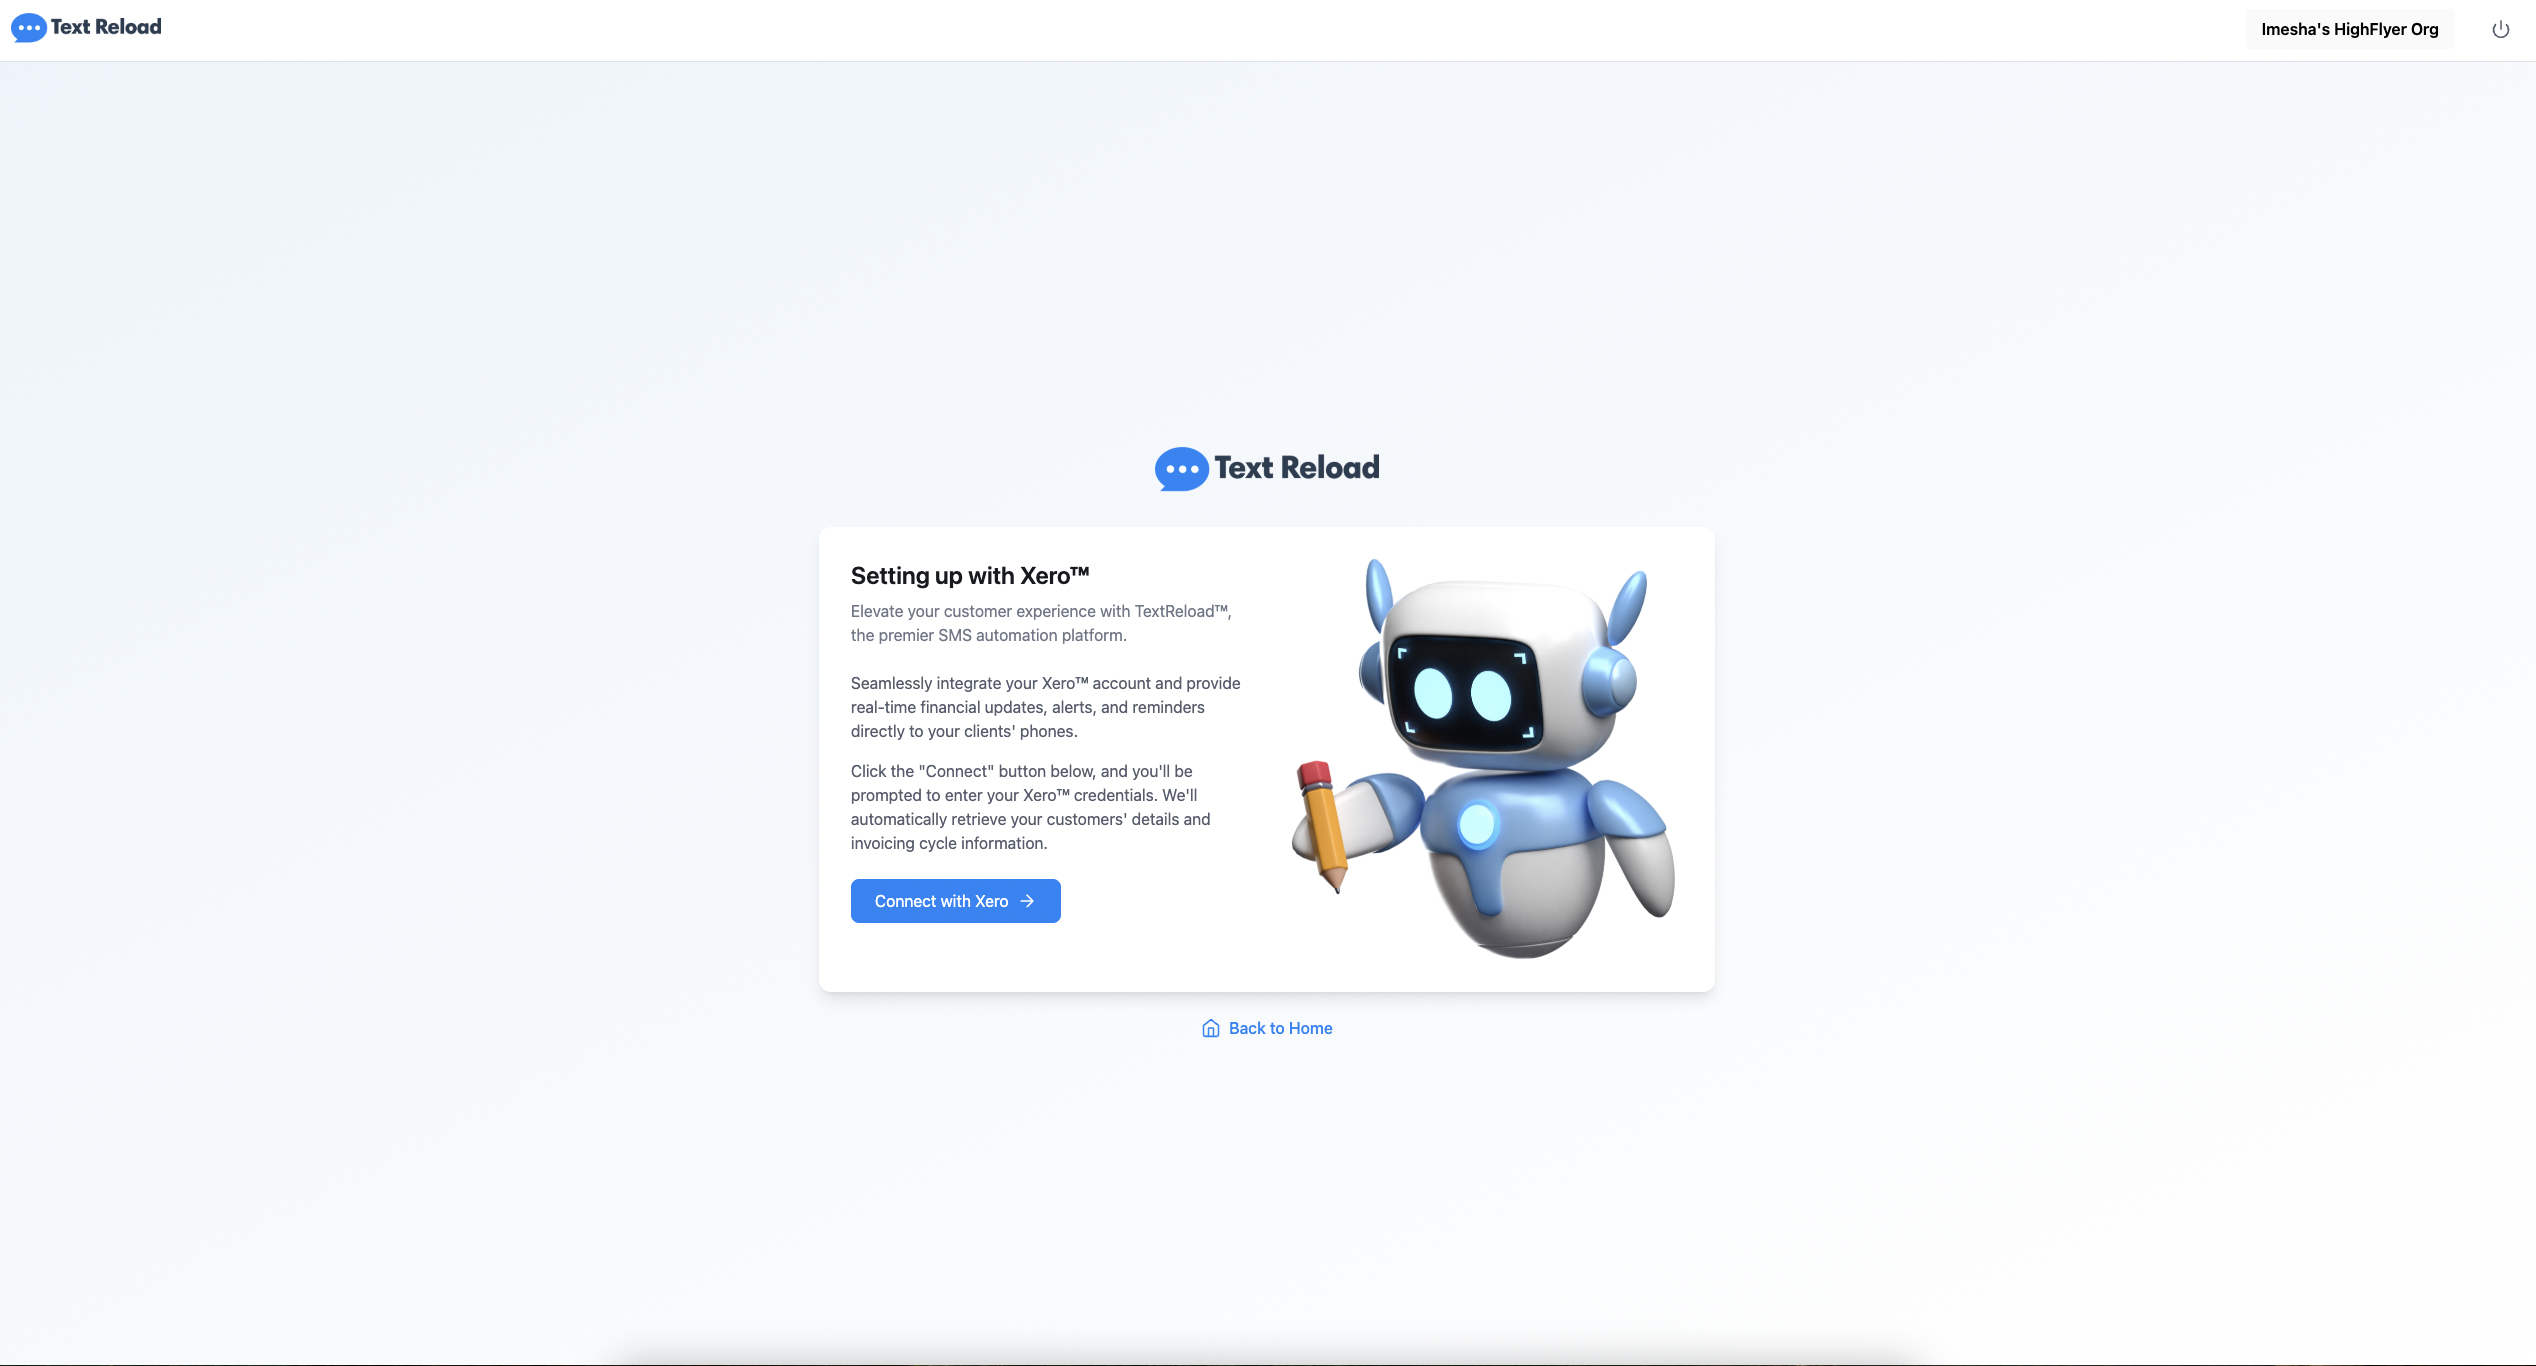
- You will be taken to the “Setting up with Xero” page next. Clicking on the “Connect with Xero” button will then take you to Xero.
2. Connect to Xero - authorize Text Reload to read your contacts and invoices
- Once you are taken to Xero, Xero will prompt you to login to your Xero account, if you haven’t already.
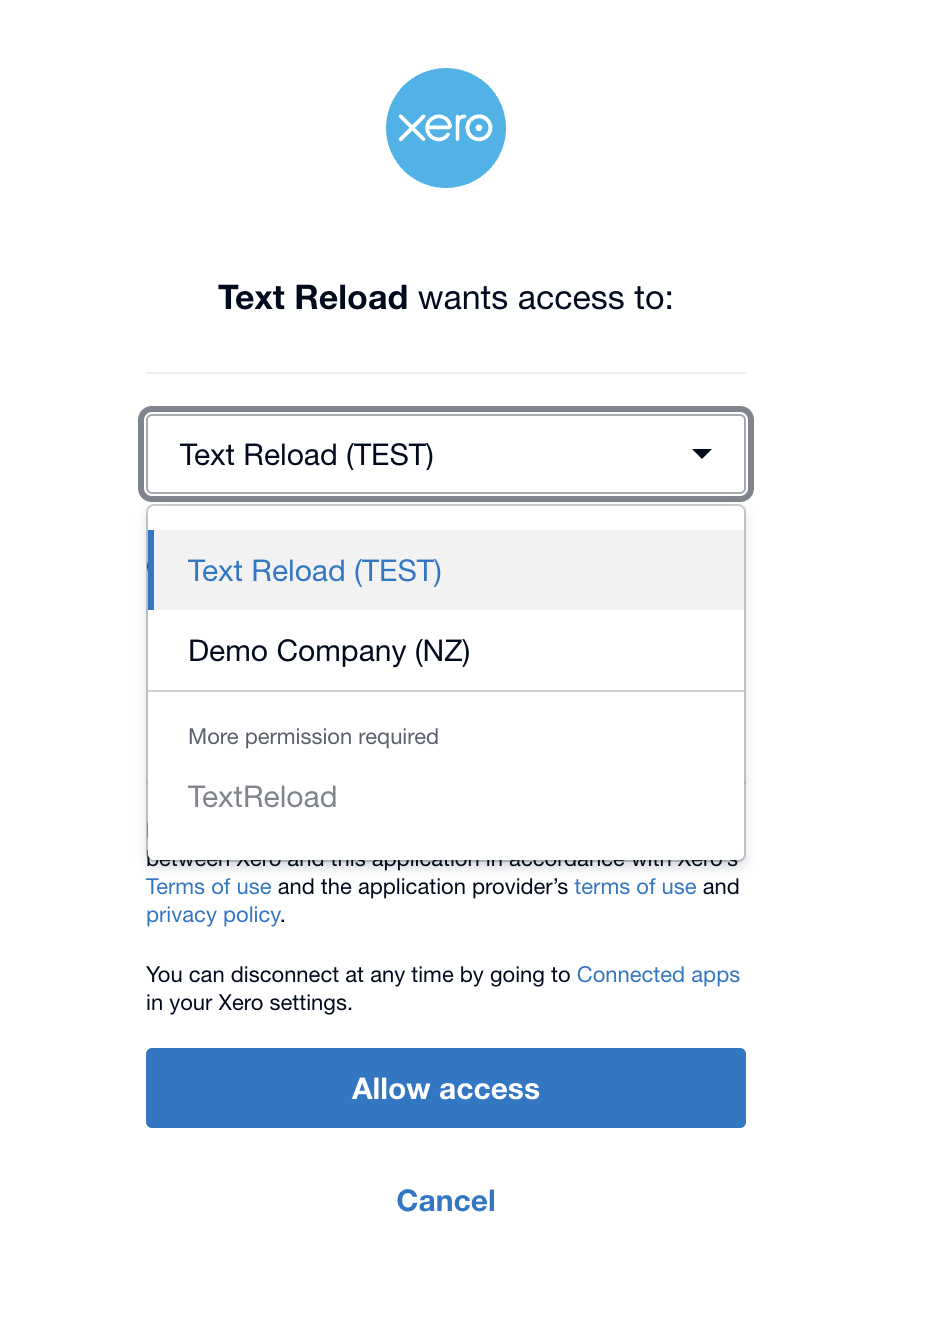
- Once you are logged in to your Xero account, Xero will prompt you with a screen like the one below mentioning that “Text Reload” wants to access your Xero organizations. You can select the Xero organizations which you want to connect to Text Reload here.
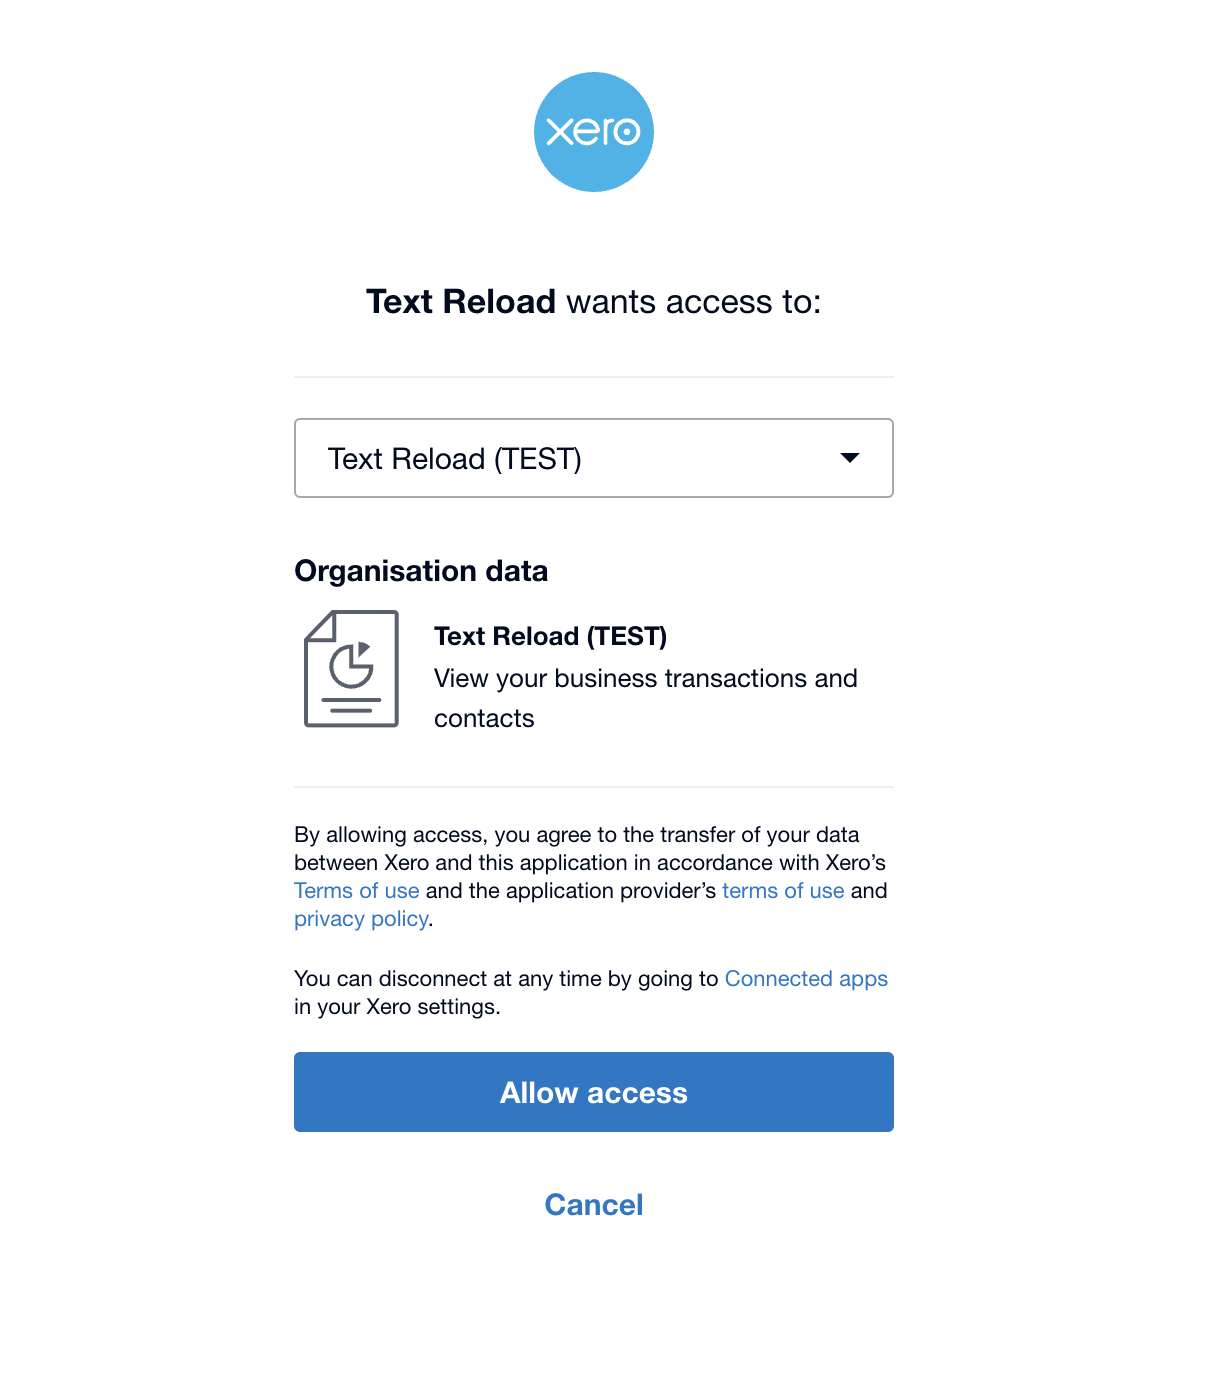
- Select the organization that you want to connect to Text Reload. You can select multiple organizations from here as well.
- Finally click on Allow Access button to grant permissions to Text Reload to access your Xero organization’s data.
Note: Text Reload will only request read-only access to your invoices and contacts. We never modify your Xero data or access sensitive financial information.
- Now you will be taken back to Text Reload’s Xero Tenant selection page. This page helps you select the exact Xero organization to be connected to Text Reload if you have granted access to multiple Xero organizations in Xero. Please select and confirm the Xero organization that you want to connect to this Text Reload account.

- You will be taken to the Dashboard again. If the Xero connection is successful, you will see that the Xero connection status is now “Connected”.
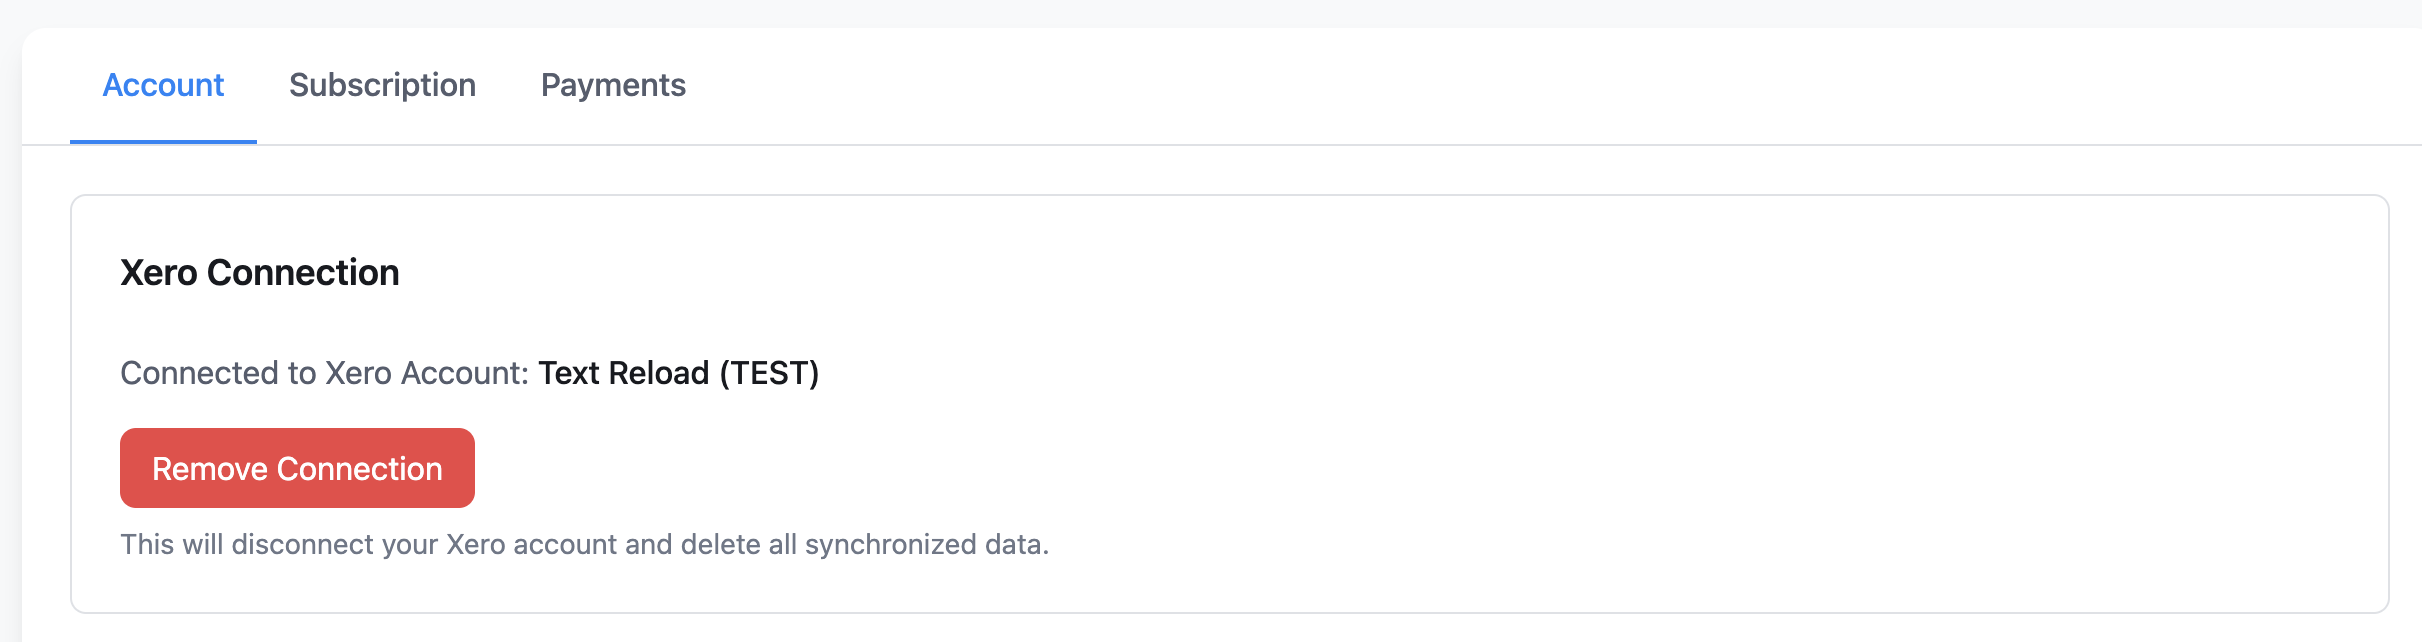
- Now if you navigate to the *Settings” page again, the “Connect to Xero” button should be changed to Remove Connection and the connected Xero organization’s name will be shown above that.
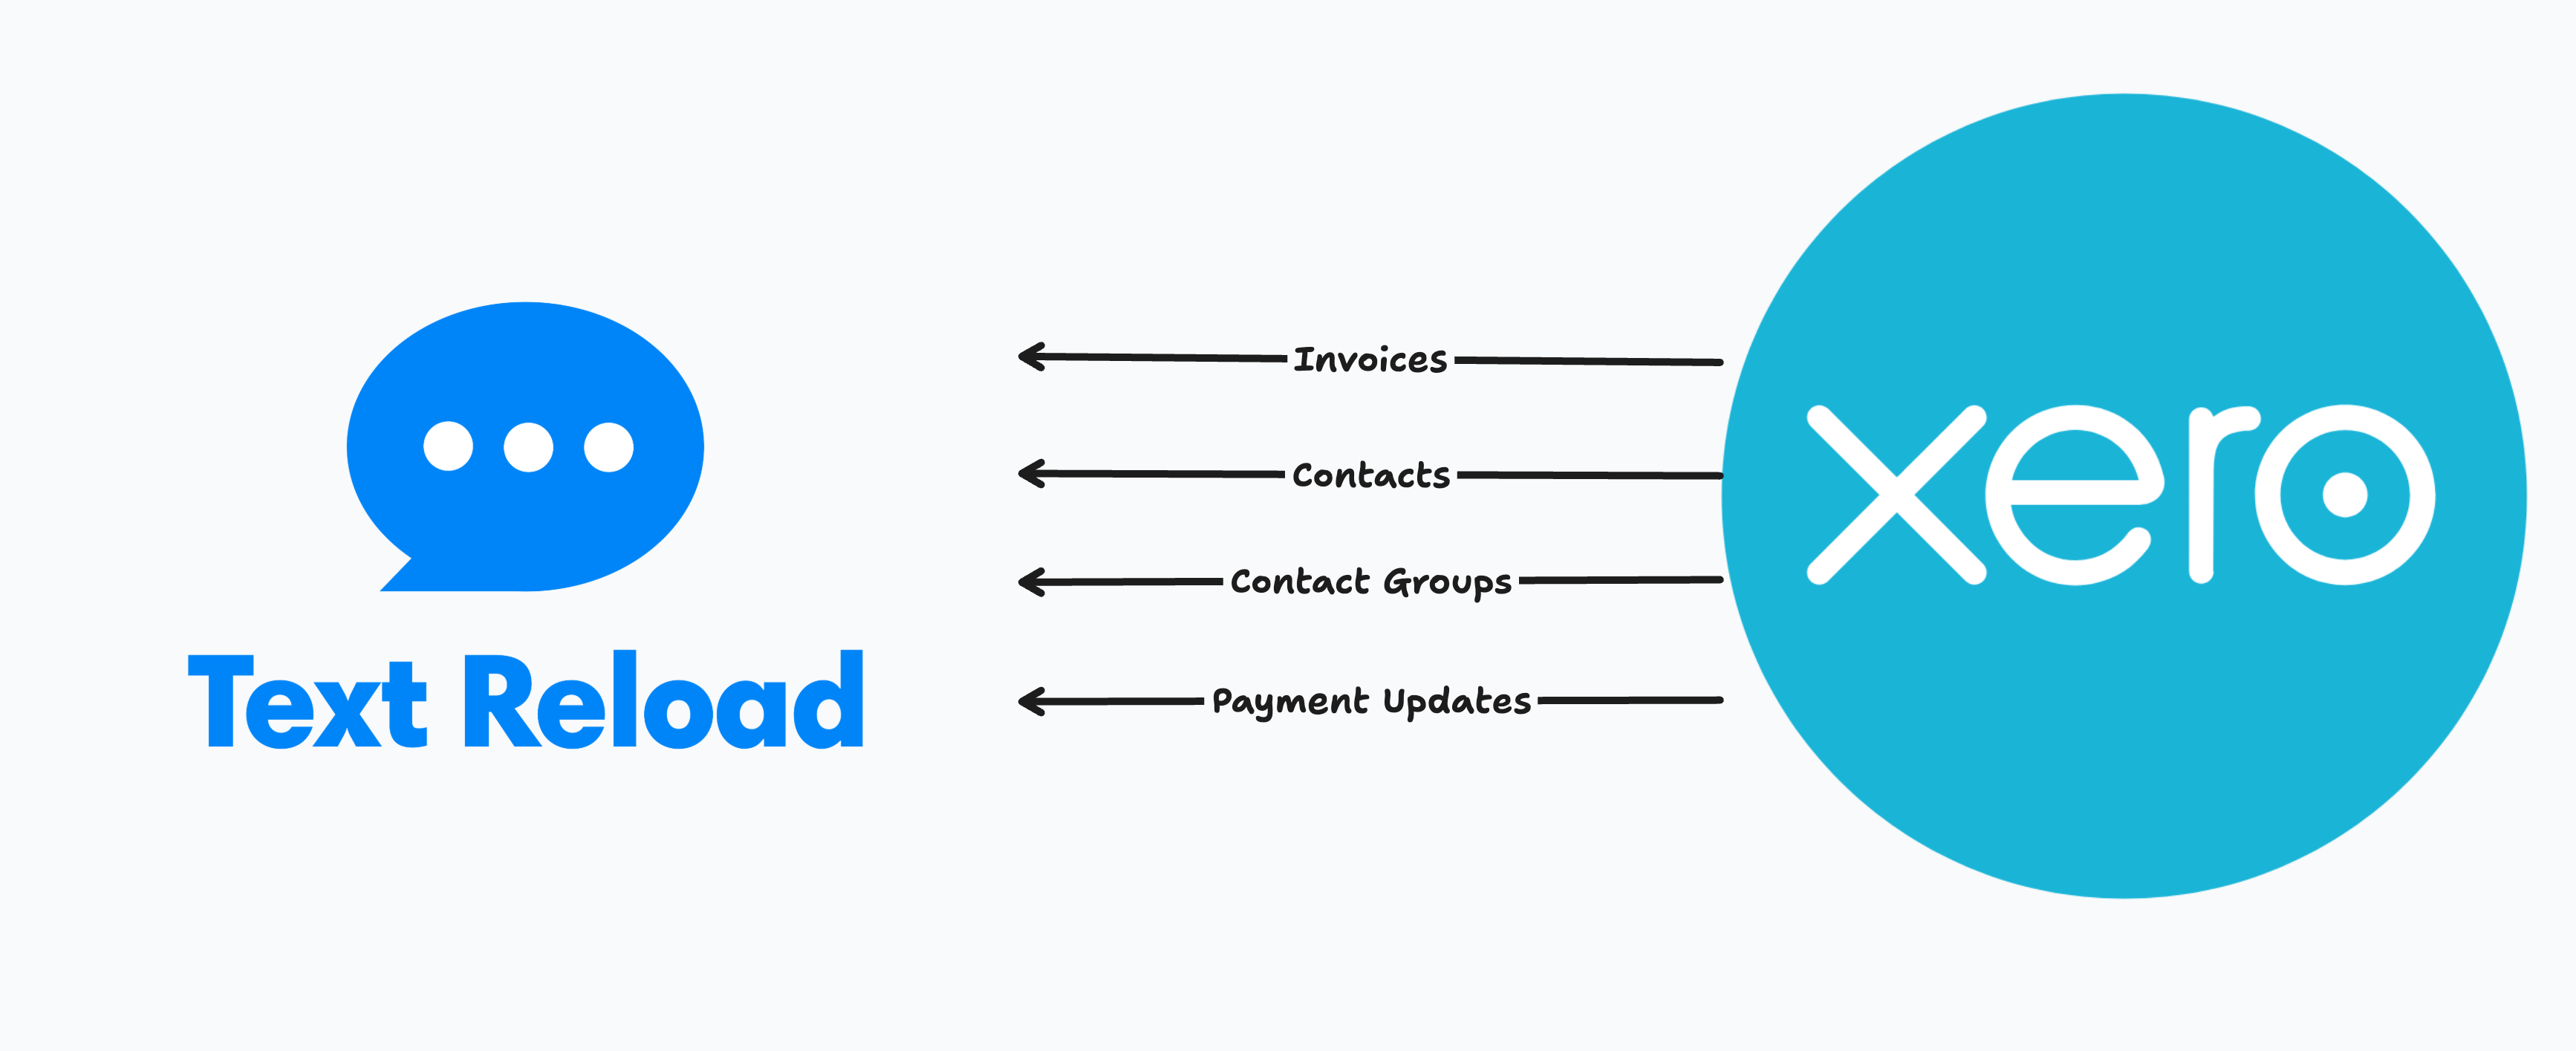
Data Synchronization
Synced Data
After connecting your Xero account successfully, Text Reload will automatically sync the following data from your Xero account. A full data flow diagram is also shown below.
- Contacts (and contact updates)
- Invoices (and invoice status updates)
- Contact Groups
Sync Schedule
The data sync happens:
- Initially when connecting your Xero account
- From then onwards, every 24 hours automatically
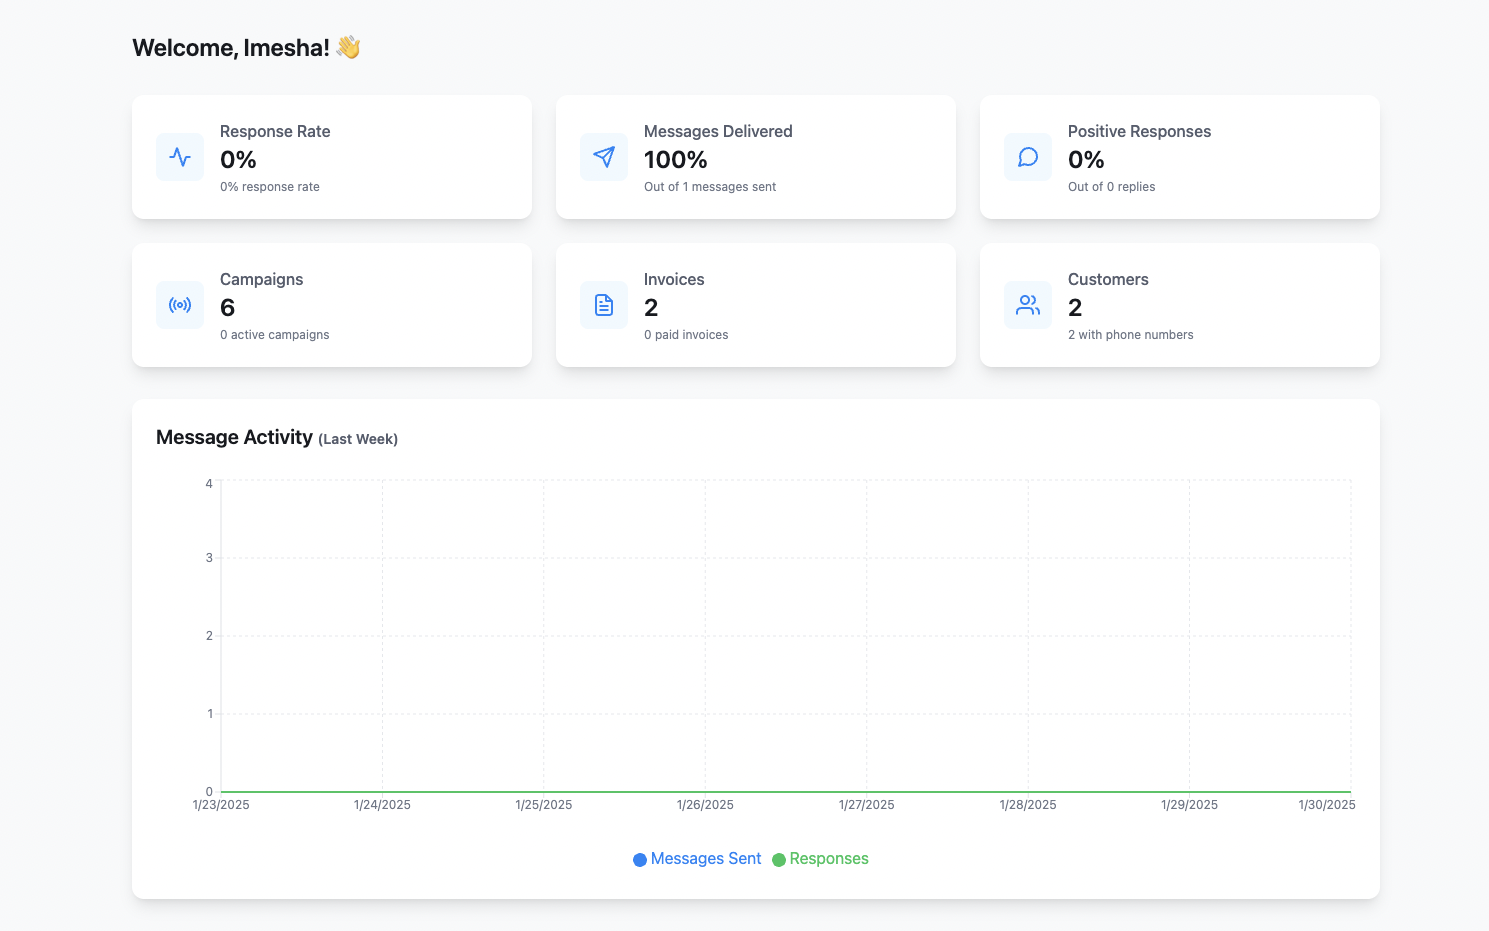
- You can see the total number of Contacts (Customers) and Invoices Text Reload has synced in your Dashboard.
Disconnecting Xero
To disconnect your Xero account from Text Reload:
- Navigate to Settings from the left menu
- Select the “Account” tab (this will be the default tab)
- Click “Remove Connection” button
- Confirm the disconnection when prompted
Remove your Xero connection from the Account settings
Warning: Disconnecting your Xero account will:
- Remove all synced customer data
- Delete synced invoice information
- Pause any active campaigns using Xero data
- Require re-authorization to reconnect